Table of Contents
Do you know that cutting your shirts can make them brand new again? If you have several unused shirts, let’s check the “shirt cutting ideas easy” article. Here you’ll find interesting ideas to DIY your old shirts rather than throw them away.

Neckline cutting t shirt
With t shirt cutting techniques, including sewing, no-sew, and combination, you can choose to apply them to many types of necklines. Here are the three most popular t shirt neckline cutting ideas that you should not overlook.
A scoop-neck
First, fold your t-shirt vertically, lay it flat, and smooth it down to eliminate any wrinkles.
Measure about 1 inch below the collar’s bottom or more if you want a bigger scoop. Then, mark the position of the new neckline with a fabric marker or a pin.
Begin with a curved line and cut along the contour of the original neckline. Keep the shirt’s two layers together to guarantee a consistent neckline all the way around.

A choker V-neck
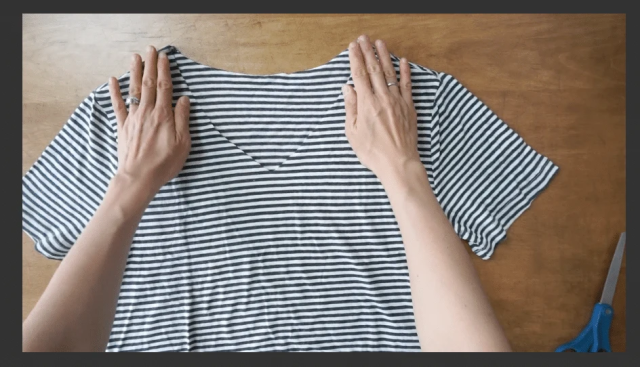
Lay your shirt flat and smooth it down to eliminate any wrinkles.
Next, draw a v-shape in its front layer with your fabric pen. Create a cutout, then finish by giving your old shirt a little stretch.

A girly V-neck
Measure 6 inches down from the shoulder’s high point to create a V-neckline from a t-shirt.
Fold your shirt in half to locate the neckline’s center. Then, draw a V-neckline using the marking.
To remove the old neckband, cut along the line. Remember to cut the sleeves off to get a new appearance.

Shoulder cutting t-shirt
Look for shirt cutting ideas easy? Then, consider having a shoulder cut as follows.
One-shoulder
Lay your shirt flat first, then use a marker or fabric chalk to draw a line along the side of the collar and from the underarm to the middle of the collar.
Then, remove the marked area by cutting through the back and front layers along the line you created.

Off-the-shoulder
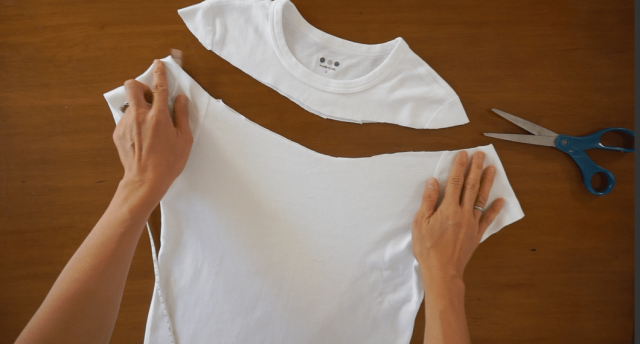
Lay your shirt flat, then outline the collar underneath with a curve running from the seam of one shoulder to the other.
Remove the marked portion by cutting through the shirt’s front and back layers.

Cold-shoulder
Along one side of the collar, lay your shirt flat until you reach the center. Next, draw a straight line down the shirt’s center until you reach the sleeve.
On either side of the shoulder seam, draw two lines and connect the second one to the sleeve’s tip.
Finally, cut through the shirt’s front and back layers and remove the pieces you’ve cut out. Cut following the lines to preserve the shoulder seam. Then, you have a cold-shouder t shirt.

Sleeve cutting t shirt
For sleeve cutting, the easiest way is to make it sleeveless.
Leave around 4 to 5 inches below the sides of the shirt after cutting them down. You can choose the desired shoulder strap width and cut the shirt appropriately. Then, stretch your cuts to prevent the fabric from appearing to have been cut unevenly.

Wrapping up
Have you decided which cutting idea to apply? These suggestions are not too difficult to do, so you can try to do it at home and of course, the result will surprise you.


